How do I add screenshots?
Adding screenshots
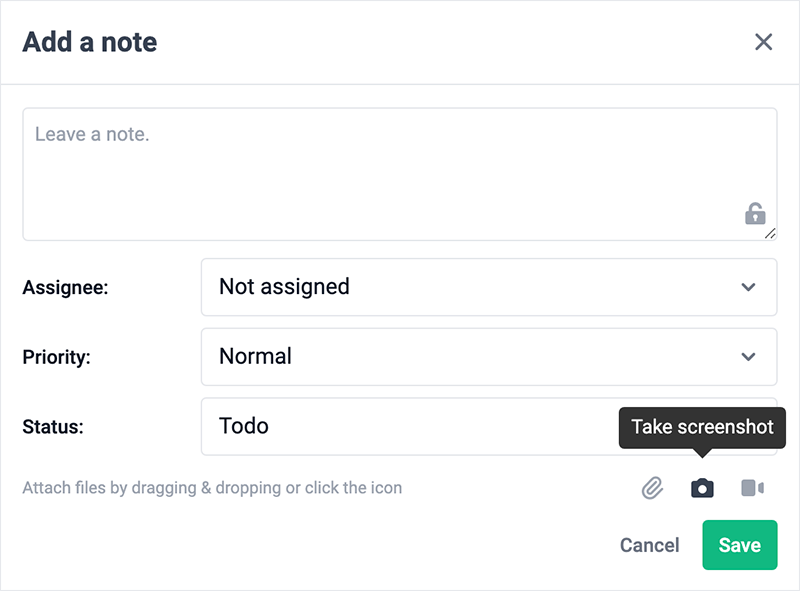
Screenshots can be added to notes and comments just like attachments. Click the camera icon, the icon will flash red a few times indicating a screenshot is being taken, and a screenshot of the area beneath the note will be added to the note or comment. You can see the screenshot by clicking on the link after it has been added to the note or comment.
Automatic Screenshots
In the PageProofer site settings you have the ability to tell PageProofer if a screenshot should automatically be added to guest feedback and/or all notes. There are three options:
- Only guest feedback
- All guest feedback and notes
- None
Manually adding screenshots
Sometimes the automatic screenshot feature does not capture exactly what you want to show. You can take a screenshot on your computer or mobile device and add them as attachments. Here's a quick guide on capturing screenshots.
1. PC Windows
- Press and hold the Windows key and click the 'Print Screen' or 'PrtScn' button on your keyboard
- Screenshots are normally saved to the [user]\Pictures\Screenshots folder
2. Apple Mac OS
- Click and hold Command + Shift + 4
- Drag a box around the area you want a screenshot or OR hit the space bar and hover over the window you want a complete screenshot of (the window will turn light blue)
- Screenshots are normally saved to your desktop
3. Apple iOS
- iPhone with TouchID - press the side button and the home button at the same time
- iPhone with FaceID - press the side button the volume up button at the same time
- Screenshots are saved in your photo album
4. Android Device
- Press the power button and volume down at the same time
- Screenshots are saved in your photo album